Showing posts with label CRICUT SERIES. Show all posts

Thursday, October 28, 2010

"PLAYING WITH SERENADE" by flowerdisco & friends FINALE


HERE WE ARE 
on our last round of
"PLAYING WITH SERENADE"
This is our 
"GRAND FINALE"

Thanks so much for the support received. 
It is what kept/keep us going.
I hope you guys found some inspiration with our projects. We kept the series "short and sweet" and we are very happy of how well we managed to have the posts ready for Wednesday's without any delays.This was a very busy time for all of us with our own blogs, design teams and life itself.
A big applause and a big bravo to
Abby, Gaby, Helen, Jessica, Melissa and Sally
for helping me make this series a success.
Thanks to you again for being there for us. 
Your lovely comments and encouraging words warmed our hearts.
 (remember that all who commented on my series more than two times, will be given a number as an ID and I will use that # on  Random.org to select a winner for a little surprise in appreciation).  
This is the "POST" where I mentioned something about it (wink-wink)

I now will present my card for today.
I had images #44 and 50 
and both were used in the making of this project.

SERENADE FINALE
5.75"high by 6.5" wide
(I still have to make a customized envelope for this one:))
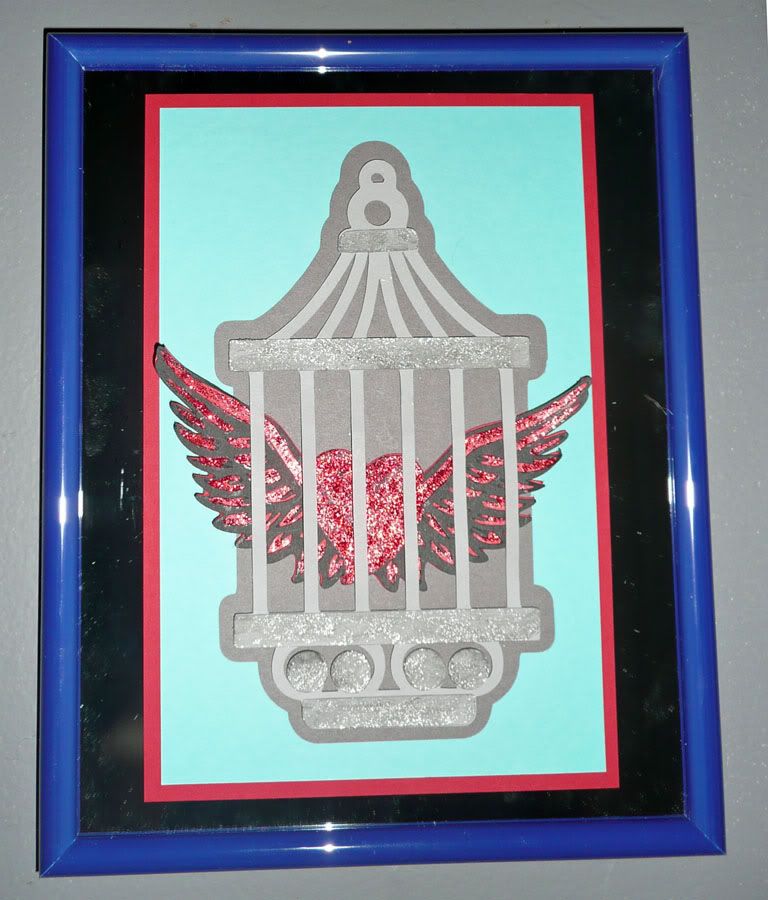
The cage is image #44 and the flourishes is image #50.

The papers/cardstocks are absolutely adorable. They are from "Mi Casa" a DCWV collection. Gorgeous colors and textures in this stack.

Just beautiful!

The birdcage was cut at 3.5 inches high. It has its shadow but I did not use it for this card.


I embellished the birdcage with some bling I have in my supplies and the little golden dots were done with a metallic fabric paint.

This is just another view of the card front and if you want to see it closer, remember you can click on the photos themselves for a bigger view.

This is the inside of the card. I normally don't do the inside left side but when I did the card swap, I liked how Melissa covers both panels and it really adds a nice touch to the inside. The black cardstock is from my stash and not from the Mi Casa collection.


You already know this is the back :) and my customized stamp from Eileen's store. 
You can find Eileen's store link on my blog side bar.

Now we move on to the last Serenade projects that my friends made to share with you.

Abby


Gaby

Helen


Jessica


Melissa


Sally

You can click on the links to see more photos of their projects.
Thanks so much
and
Sweet Hugs to all
*_*

Wednesday, October 20, 2010

"PLAYING WITH SERENADE" by flowerdisco & friends


hello dear friends

a big welcome to my new followers
don't be shy and let me know how you like the projects :)

another Wednesday is rolling by and this is round #6 of Playing with Serenade.
Today  I am showcasing image #37: a pretty bird.
(I think most of us have birds this week)
 this is my project for this round.


Fun  Fall
4.5" square card
I was going to glue the bird in the inside but I did not measure right and it was to big.

The bird is leaving for a while to Welcome Fall.
I know I should have put the bird on the left door. But he was already flipped and cut :(
The inside is embossed with the Cuttlebug using the Allegro embossing folder.
The small leaves were punched out.

The bow is from Ashlyn's Alphabet and you find it on page 56.
The front door was made just cutting (I did this part manually) half a circle and a slit in the middle, leaving space to score half an inch on the sides.

 this is the inside.

The idea of the door opening like it I took it from the magazine below :)

 *****
My friends projects Playing with Serenade are below.
You can click on their links to go to their sites and see more details on their projects.

Abby
http://scrapbookaholic.blogspot.com/
  

*****
Gaby
http://scrapabookaholic.blogspot.com/


*****
Helen 


*****
I hope you enjoy this round as much as the previous ones.
My friends projects just get better and better. Don't they?

anyhow, next Wednesday will be our finale.

Thanks for stopping by and again...

Love you all!

Wednesday, October 13, 2010

"PLAYING WITH SERENADE" by flowerdisco & friends


Welcome to

ROUND #5
of 
"Playing with Serenade" 

Today I have image #30 and it is a beautiful branch. I did not want to take any other image from this cartridge to accompany my branch so I went and got my acorn from "B is for Boys" Cricut lite cartridge.

Nuts about You
4.25" x 5.5" card
The card looks crooked in this photo but I give you my word is not crooked in real life, lol. too funny.

The branch had another small branch I cut off because it just didn't serve my purpose, wink-wink
(The truth is I was going to make a layout but I wasn't feeling too good the other day, so I went for a smaller size project, and after cutting my branch to the magnificent size of 5 inches, I had to cut that part and more off to fit in my card, hehehe. I had cut three huge acorns too at a size of 3 inches each, but I just had room for one, lol.)

I am practicing with my bows and they are coming out a bit better, as you can see.
My papers are from DCWV, the "Nuts about You" sentiment  is from MPS clear stamp sets and you can find out  HERE where to purchase. I also used my dear textured American Crafts cardstock and a Martha Stewart punch for a small detail behind the papers, added some glitter using my glitter pens and Voila! :)

 I also added some outlines with a black pen.

 My huge acorn at 3 inches high, lol
and you can see I used my distresser too.

I decide to use another acorn for the inside of my card. The top has been embossed with a Cuttlebug embossing folder called Tiny Mosaics. Isn't cute?

 Enjoy!

Now, let's see what my friends made with their assigned images.

Abby


 *****


  *****
Helen

*****

Jessica

  
*****

THESE CARDS ARE A "WOW"
As always I have enjoyed every single project my friends make and I certainly
Hope you have enjoyed them too,
and come back 

next Wednesday.
  We will be showcasing round 6.


Hugs to all!

and Thanks for the love left.  


Wednesday, October 6, 2010

"PLAYING WITH SERENADE" by flowerdisco & friends


Happy Wednesday and Happy Fall!

 We are already experiencing not cool but cold weather. The tropical storms have been pouring rain on this side since last week. Monday and Tuesday was Brrr! :)

Anyhow,

I am here to introduce another series of  
SERENADE ROUND 4 
We are already half way and I am thinking to have a small surprise for those who have been following the series and commenting on these gorgeous Serenade projects. shh! it is supposed to be a secret ;)

My image for this week is #23 and is a FLOWER...you already know flowerdisco loves flowers, hehehe, and I decided to make something different. I had already bought the one staple I needed to make it and well here it is...this is my first time making a...
Flower Hair Pin/Brooch
3 inches in diameter
 (Remember to CLICK on the image to have a bigger view)
This hair pin/brooch came out  
gorgeous!

This image has 4 cuts and forgive me if I do not have the proper names for them: a shadow, a base, the big one you see on the Gypsy screen and a small circle for the center of the flower.
 The bigger image you see on the Gypsy screen was cut in 5 different sizes:
3", 2.75", 2.5", 2.25" and 2" inches. I also cut the shadow image twice, to give the pin a sturdier base.
You see the scallops on the big image, right? To make my flower dimensional I cut one scallop off on the 3 inches one; then two scallops off on the 2.75 inch one; then three on the next size, then four and then five on the smallest one and glue them again with Scotch's Quick-dry adhesive to make the circle again for dimension...did I loose you? Clear as mud right? lol. It is the same techniques they are using to make the paper flowers.

 I inked everything and I used my glue gun to add the 5 layers. (I tried with the Scotch's glue but it wasn't working, :() BUT, the glue gun attached all the pieces very well and very secured.

 I bought a jar of Diamond Dust when I was in Boston and I finally got to use it here. I am learning this technique and even it seems like a lot of Diamond Dust still looks very nice. Next time I know to use a bit less, lol. All the Diamond Dust is very secured to the flower tough. I made sure of that. :)
 The leaves are from A Child's Year cartridge...
beautiful leaves and I never noticed they were there, wink-wink...
(that is because it gets to be too many cartridges in the collection, lol).

 
 This is the back and I attached that hair pin using my glue gun again.

Now,
I have a model to show off the flower as a hair pin: ME...lmbo!!!

Just FABULOUS!
I also tried putting it on my purse handle and it look nice there too and around my potted plants and in my kitchen and in the bathroom....and every where I put it it looked beautiful. Oh! I have a garland on my front door and just imagine a whole garland with these flowers on different sizes...it will be to die for :)

Well... I hope I have inspired you with my hair pin and remember these flowers in other colors will look different on every season decor. 

 
Now onto my friends projects.
Abby
 *****
  *****
Helen

*****

Jessica
  
*****
As always I have enjoyed every single project my friends make and I certainly
Hope you have enjoyed them too,
and come back 

next Wednesday.
  We will be showcasing round 5.


Hugs to all!

and Thanks for the love left.