Saturday, December 4, 2010

STOCKINGS GARLAND


Glad I am not the only one having days like yesterday, lol. It was awful...I was so edgy, grrr!

Anyway....we went to the play. It was short but cute. T wants to be a theater director and this was the first play she wrote and directed. It was about a senior being dumped on prom night via text messaging. Imagine that one!
Kuddos to T for her big accomplishment. Last night was her night and all the glamour that comes with it. I was so proud of her.

Anyway, I have been making this garland bit by bit since last week and, I finally finished it today.
 I want to share it with you. It is now part of my holiday decorations in my living room.
I might try to sell it on Etsy too. It came out so very pretty and I had a smooth ride with it.

 STOCKINGS GARLAND
you can make it as long as you want and the stockings any size you want to.
These ones are 5 inches high
 I used Simply Charmed for the stockings, image #35 on the overlay.

A view from the side and remember you can click on the photo for a larger view.

Here is a collage of every single one. 
They were embellished on the back too in case I wanted to use them on a doorway.
The holly leaves (image #10) are from Winter Woodland and so are the poinsettias (image#9).
The ribbons are from my stash and I used thick chipboard for the base, patterned papers are from 
Cloud Nine and the textures cardstock from American Crafts. The last stocking you see in the collage was stamped with a script rubber stamp on kraft cardstock. I then used my red glitter pen and went over all the berries on the patterned paper. The center of the poinsettias were made with a whole punch using DCWV glitter cardstock and so were the one berry on the holly leaves. You already noticed the inking.....I love inking. I mostly used the brown inks for it.
Have a good weekend and if you have time check out
12 tags of Christmas
I have to try the first one, even I am loving them all. He explains everything so well. I never went to his site much but today I subscribed to his feed because I do not want to miss his work ever again. 
I think we have a bit in common.
*-*
Just for the records:
I entered it at "cooking with cricut" challenge

Christmas Greetings From Peggy Loves Vintage


Is any body panicked about their Christmas cards yet? Yeah, me too, but there's nothing easier than using the beautiful images from PeggyLoves Vintage to whip up beautiful, professional looking cards in jiffy. And, because the printable images are resizable, you can customize them to fit any card size (or embossing folder as I've done here). These lovely candles are from Peggy's Vintage Christmas CD Volume 4. To add to the vintage feel, I've printed on textured card stock like my dear DT sister DeeDee does. Love the look! The beautiful Swirl Frame embossing folder is from Crafts Too, available at Custom Crops. (Just happens to be on SALE too!) I've added some MS stars to the stars on the folder for a little more bling.
My biggest problem is that I rarely finish the inside of my cards when I make them, so that's often how they remain. Many of the images on the Peggy Loves Vintage CD's have matching sentiments so problem solved! WooHoo! Ready to go! If you're really pressed for time, you can purchase Christmas Cut Outs to receive through your email, too. There are lots of themes available. Be sure to stop by the Peggy Loves Vintage Blog too. That sweet Peggy offers free images and preview her new offerings there, so don't miss out.

Friday, December 3, 2010

FROM TWINKLE TOES


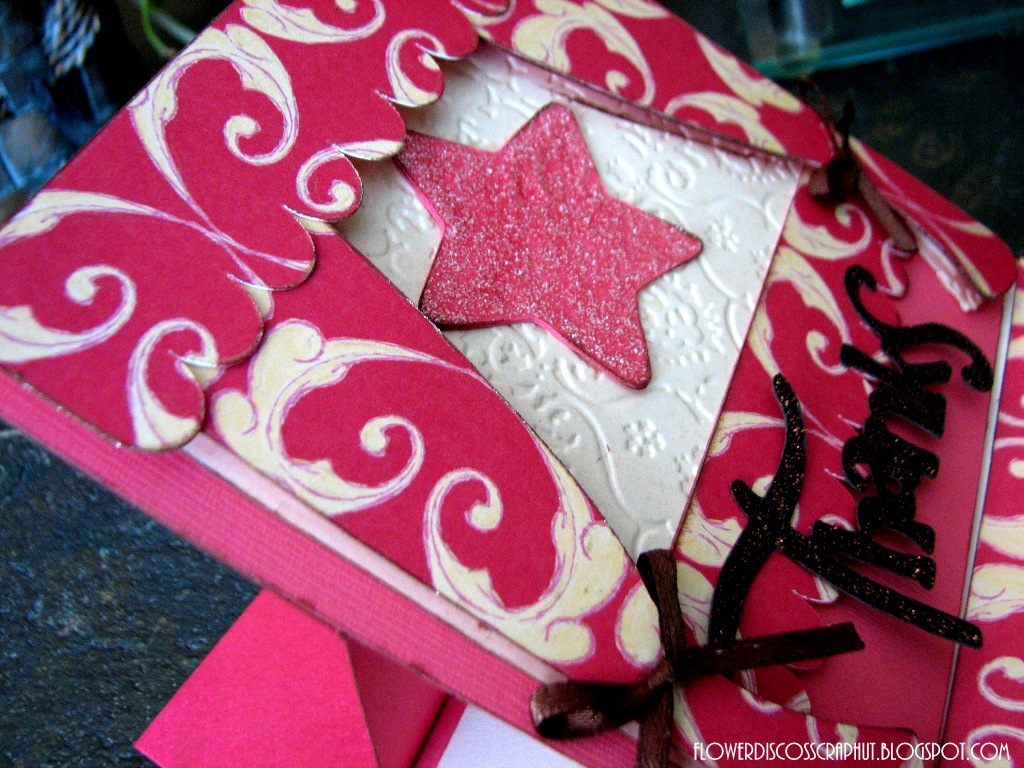
On Friday my son asked before he left for school if I could make a Thank You card for one of his friends. His friend wrote the play he is in and he wanted to give her a card. 

I guess it wasn't my day but one of those days when every little thing goes wrong when crafting.
I had in mind to make an easel card and we all know how easy they are. This one took me over two hours, grrrr!
I kept messing up, dropping things, forgetting this and that....oh my God....I was in such a nasty mood when I finished it was good nobody was around me, lol.

Anyway...I ended up using Twinkle Toes (one of the carts that my son got me on Black Friday) after trying to find another image on the G with no avail.
It is good that I am lucky and I have this many carts but it does get overwhelming trying to remember which cart has this and that and the G search is not the most friendly.
I used other carts for the words.

Thanks so much
an easel card
image #23/stage


 I can't believe this card took my patience away.

If I wouldn't have to finish it that day I would have walked away from it, lol

If you notice I wanted embossing and got debossing...the thanks was cut like 5 times until I got the right size, the debossed background was bigger than the layer (had to cut it by hand) and the heaviness of the top kept falling backwards, grr...among many other things....Well, I needed to vent.....thanks for listening :)

Have a great day! 
and thanks for stopping by.
*-*'

Game On


Today is my BFF's son's 17th birthday and last night we were invited for a little "family" birthday dinner. Since I've been making cards, I've always done a "big deal" card for him but I honestly thought I wasn't up to it yesterday. I had some DT stuff to do and at lunch I told DH that maybe I wouldn't do one this time. After all, he's 17, right? Then I started to feel guilty.

I remembered I had seen a video control on SOME cart I'd purchased recently and since we were giving him a Turtle Beach headset dealie to use with his XBox, I thought maybe I could work something out. I finally found the cut on Wrap it Up. There is a card feature but I never really like the ones straight from the cartridge, so I welded two of the controls together to make the base (no shadow, how annoying!) For the first mat I welded the headset (also from WIU) and the sentiment using a font from Don Juan to the control and started building layers from there. I panicked a bit because I usually don't design AND cut in one day (too ADD, LOL) but I did manage a pretty okay card in the time I had.


I tried to sort of keep the colors true to life (mostly black) so I used some glossy and metallic black for at least a little interest. Wish I'd embossed a bit more, but hindsight is always 20/20 and I couldn't rip it apart without destoying it (believe me, I tried). I did emboss the ear cushions with the Cuttlebug Polka Dots and the sentiment with Herringbone at least. Not quite as many layers as I like, but it has a decent amount of dimension. and I jazzed it up a bit with adhesive beads (big suprise).
The inside sentiment is from Celebrations. The reaction the card received made my day! Besides a big hug and kiss, Alex said I made the best cards EVER and that it was just perfect for what he's into right now. Gotta love him!

FLOWERDISCO & FRIENDS RED CARPET


wink-wink
'*-*'

I will start as received and in no other specific order.
from dear  

*****
  from  dear

and


 *****
from dear


I am so very honored and thankful that you my friends think I deserve these awards. 
Thank you from the bottom of my heart and hopefully I do disappoint no one.
I will edit this post in the future but did not want to keep waiting to post them. On the edit I will say a few more things about myself for your recreation, lol

Now, let's get off the red carpet for others to come a get these awards.
They are free to all my followers...too many many too mention but you know who you are. 
Grab them and walk on the RED CARPET  :0 too. and then show them off on your blogs and do the same to others. Make their days!
We all deserve them. Blogging is a hard job.

If I have forgotten anyone, please, accept my sincere apologies. I tend to accumulate them and sometimes I forget to move them to their folder where I keep them to avoid forgetting any, but.....you know what I mean, right? :)

Thanks again.......they really touch my heart every time.


Love you all!

NOTE: I tried to find a red carpet animation but I was bit afraid of some sites...don't want to catch a virus :(

Wednesday, December 1, 2010

STAMP BY STEP CONTINUES


HELLO my dear friends

Today I have the last two projects for  
Don't forget to make a comment on both days: today's and yesterday's telling me which project you like the best. Even if you change your mind I will count your entry just one time :( ..........
These were the requirements; easy peasy, lol

Requirements: 
1- Must be a FOLLOWER for this one
2- Must leave a comment today and tomorrow telling me which project is your favorite
3- Must leave me a way to contact you

Now onto my projects.
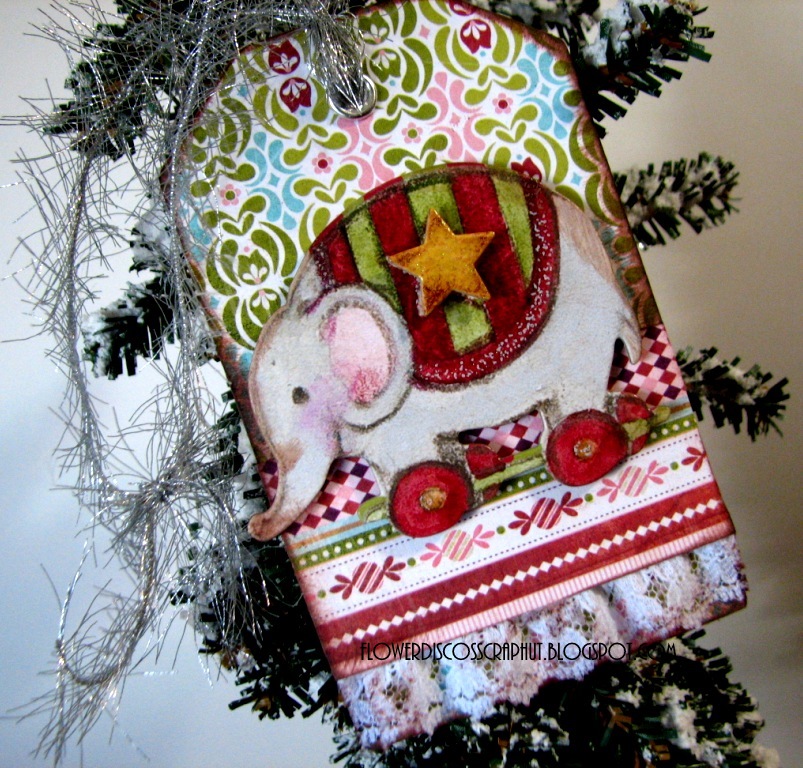
(I am also entering this ornament below to two challenges:
Paper Crafts Star and Fantabulous Cricut)


I used the beautiful stamp from Stampendous again here and I wanted to embossed it as I did on my card yesterday but did not have a pigment teal color ink so I used my Stazon one. I also used the same Basic Gray papers I used yesterday for these tags.


Great, aren't day?
 I hope you enjoy it and enter for the giveaway.
**********
NOTE: Just a few more days for making the Jingle Bell ornament. Nobody else has entered but TR.
I tried and keep trying to give you some candy but if you don't want it, TR does.
I will randomly choose a winner on December 5th.


Love you all!

Bah!Humbug! Feelin' the Blues and SOG Window Challenge


The SOG Blog hop goes on 'til 6:00pm EST today so if you're looking for that, please scroll down and comment there (not that I wouldn't want you to comment here, too, but I don't want you to miss a chance for the prize). This just happens to be a Some Odd Girl card as well. How about that!

This is the last Bah! Humbug! challenge of the year and I am a bit blue (sniff sniff) but I again want to thank the gals for such wonderful inspiration all year (and the opportunity to make Christmas cards year 'round without looking daft.) I'll be back in January to do it all again with you, so have a fabulous holiday season. I'm hoping there's enough blue on this card to qualify for the Feeling the Blues Challenge. Ann, Max, and Irene have been pretty lenient with me and I appreciate it muchly. LOL Honestly though, not many other colors except adorable Some Odd Girl Snowy Mae's red hair. (Amazing how many of my stamps end up with red hair! Go figure.) I used Cricut Design Studio for the card and cut out mat for the window to enter this week's Some Odd Girl Window challenge as well. I'm hearing from my buddies in Chicago (as well as everybody in the UK) that the white stuff is falling and it's making me miss it, big time. What better time to snuggle by the fire and get in the Christmas spirit? I've used the bigger 5x7 Cuttlebug folder to emboss the snowflakes on the front AND inside and used Nesties and punches for the various snowflakes and (big surprise) a bunch of adhesive pearls for embellies. (the blue ones I colored with my Copics.)

Inside you get a better view of Snowy Mae. The sentiment is computer generated and cut with my Nesties and I've added more flakes and a border punched with an older (unidentifiable) punch.