Showing posts with label CUTTLEBUG DRY EMBOSSING. Show all posts

Thursday, October 27, 2011

ALL THINGS GROW WITH LOVE


just to have a little fun with the 
FLOWERS & FRIENDSHIP.
one of the new releases for next month from the 
 you can pre-order any of her stamp sets by clicking here.
i decided to use one of the sentiments from the above collection for a halloween card. if you are one of my regular followers, you already know i sometimes like to twist and spin things around a bit.
a small example of it is my project for today.

All things grow with love
4.25" x 5.5"
hehe
---even little monsters grow with love---
he is from mini monsters and you will find him on page #48 and he is image #3 on the overlay.
 he is already 3 inches tall---and he is growing a boo boo... i mean a mustache, (wink-wink) 

 all these pretty papers i believe i got them at acm but i am not 100% sure. 
the were already cut in three different sizes.

 my mini monster also grows eating bats and ghosts...hehe
i bet you already noticed i did some paper piercing in some areas. the tombs border is from martha stewart. the embossed bottom strip was done with a cuttlebug folder called diamond plate.

i did the inside of the card and look at the awesome bat. how cool is that?

oh...and i stamped the corner of the envelope.

phew!
finally the whole card
BOO!

thanks so much for stopping by.
i really appreciate it- it means a lot to me.

one more thing....
this is a cute gable box and to me it looks perfect as a lunchbox:
i used the LUNCHBOX THOUGHTS and the SPOOK-A-LICIOUS set for the spider.
have a super great week!

Monday, October 10, 2011

YIKES!---A BITTEN BY THE BUG CHALLENGE

as a newbie for this
 

Bitten by the Bug team,
i was very surprised they gave me the opportunity to host this weeks challenge. i had to pick an image for the challenge and i chose the vulture from life's a party, page #28. i hope you like the image and if you do not have this cartridge you know you can use another "cute" bird as long as is as handsome as this one, lol.

Yikes!
3.5" x 5.5"
so handsome, he even lost an eye in a battle.
life's a party is another wonderful cricut catridge. you can find this awesome vulture on page@28 of the handbook and it is image #8 on the overlay. i cut him at 2.50" high.

you know i have been onto layering for thickness. i cut several layers and glue them together for thickness. i hope you can see it better on these two pictures. the bat is from another punch and glossy accents was added for details.

the card base is from from the same cart: image #18 on the overlay. the black frame around the embossed red cardstock i made it inserting a smaller layer inside the original, do i make sense? i hope i do :P

the grayish marbled base was a gray cardstock i inked to make it look like a marbled tombstone :-) the RIP is from happy hauntings (image #30 of the overlay) and the bottom flourish is the negative from the card layer. i tweak things around and not everything is "by the book".

the nice brick embossing is from a tim holtz embossing folder called "bricked". look at the details. it is a must have!
*****i will have one embossing bricked folder for a lucky winner who participates in this challenge. you have to let me know you entered the challenge at Bitten by the Bug 2. i will go and look at it and next monday i will  post the person who won. you have 3 days to claim your prize.*****
---
now, i will show you the completed card.
------you can always click on the pictures for a greater view------

 the inside was stamped with a my pink stamper stamp set called spooky puns. it is a set from last year. i purchased it this year so they still have it. you can click here to see what other stamps are in this set.

thank you so much for stopping by and i appreciate you participating in this week challenge.

you can click here to read about the BBTB challenge rules.

see you later!


Monday, September 5, 2011

MISS YOU


MISS YOU-MISS YOU-MISS YOU

i miss my son so much it is heartbreaking :( and when we were asked to use this image, i thought let me make it to show how i am feeling right now.
my son is doing very well and BU had planned lots of events for their students, especially for their freshmen. this weekend was packed with different activities and i bet you he was having a blast :). 
he has also decided to continue marching band, and on sunday he had his first rehearsal/meeting.
 as we all know life goes on and i will do my best to keep myself busy. i still have lots to do in the house and that will help me--  :)

anyhow as, i said the  
  challenge for this week is the winged heart from rock princess. you can find it on page #44 of the handbook. i cut this heart at 2.18 using my gypsy.

Miss You
4.25" x 5.5"
the background is kraft paper textured with the fiskars crimper and inked dirty with black ink.
the spiders and the sentiment are from my pink stamper stamps. the splashes of blood are a dollar stamp. the wings were dry embossed.

the script paper is from martha stewart and it also already had the splashes of blood. you can see some on the heart but on the bottom strip and top left, were stamped on.

the border is from an EK paper punch called binding edge.

     please, come to the 
 
clicking HERE, 
and have fun with us. you have to link your project there and when you post it on your blog don't forget to mention us. this will help others wanting to participate know where they have to go ;)

i will come back tomorrow with another project. hope you come back!

Love you all


Monday, May 2, 2011

HAPPY MOTHER'S DAY


it has been a while since i posted something but i still around. in my country there is this saying: weeds never die, hehe. that's me!

Happy Mother's Day
5.5" by 3.75"
anyway, i had no idea of what i was doing here, lol, but i knew i wanted to use at least once, the kate's abcs cart.
the mushrooms you will find on page 57----cut them at 3.25".  
the butterfly is from the same page and was cut at one inch.

this frame is from sizzix and the awesome greeting is from mps. 
i love this font.

oh! the dry embossing was done with the script texture folder from cuttlebug.

a bit of inking, a bit of bling.
 
something a bit different but not bad at all :P. 

I hope you guys are doing well.
 
-----
remember, this saturday is national scrapbooking day (NSD) and robyn will be celebrating with ideas, challenges, giveaways and new stamp releases. mark your calendars so you do not miss all the fun. 
i really enjoy participating in the different challenges and  hope you do too.

love you all!
*_*


Monday, April 25, 2011

LET YOUR LIGHT SHINE

hoping all had a great holiday with your loved ones and had time to meditate and celebrate that we have eternal life because of Jesus.
Amen.

since i do not have my family around, we normally go to the inlaws but we have been staying home the last few easters. i prepare a pretty dinner for us and sometimes neighbors stop by and join us.

Let your Light Shine
5.5" by 4.25"
this card was inspired by another card i saw at a magazine from northridge. i knew i had the exact sentiment from one of robyn's clear stamp sets and that is all it took to start the process. :P
the scallop, the circle and the clouds are from fiskars paper punches. the pretty embossed background is also from one of fiskars texture plates.


here you can see the embossing better.  i also did some paper piercing, bits of diamond stickles and blue liquid pearls i had in my stash. the clouds were also stamped with another set of robyn's clear stamps.


the butterfly is from a ms paper punch. the border from k&co and the stem on the little flower is another stamp from my stash.

enjoy!
 and
  "let your light shine"

love you all!
*-*

Tuesday, April 19, 2011

MPS APRIL DESIGN TEAM PROJECT

hope all of you are doing well

today is about favors...what kind of favors? 
party favors, wedding favors, baby showers favors and the list can go on and on-- :)

Birthday Girl
party favors
(i had in mind to make a "you've got purse-onality" party favors when i started, but the stamp wasn't fitting well on my already made banner--wink-wink--so i used the "birthday girl" instead)
 the stamp is from the "pink-a-licious" set.

the banner is made with triangles from "george and basic shapes".
the stars and the scalloped border are rub-ons.
the cupcake is from a paper punch.
  

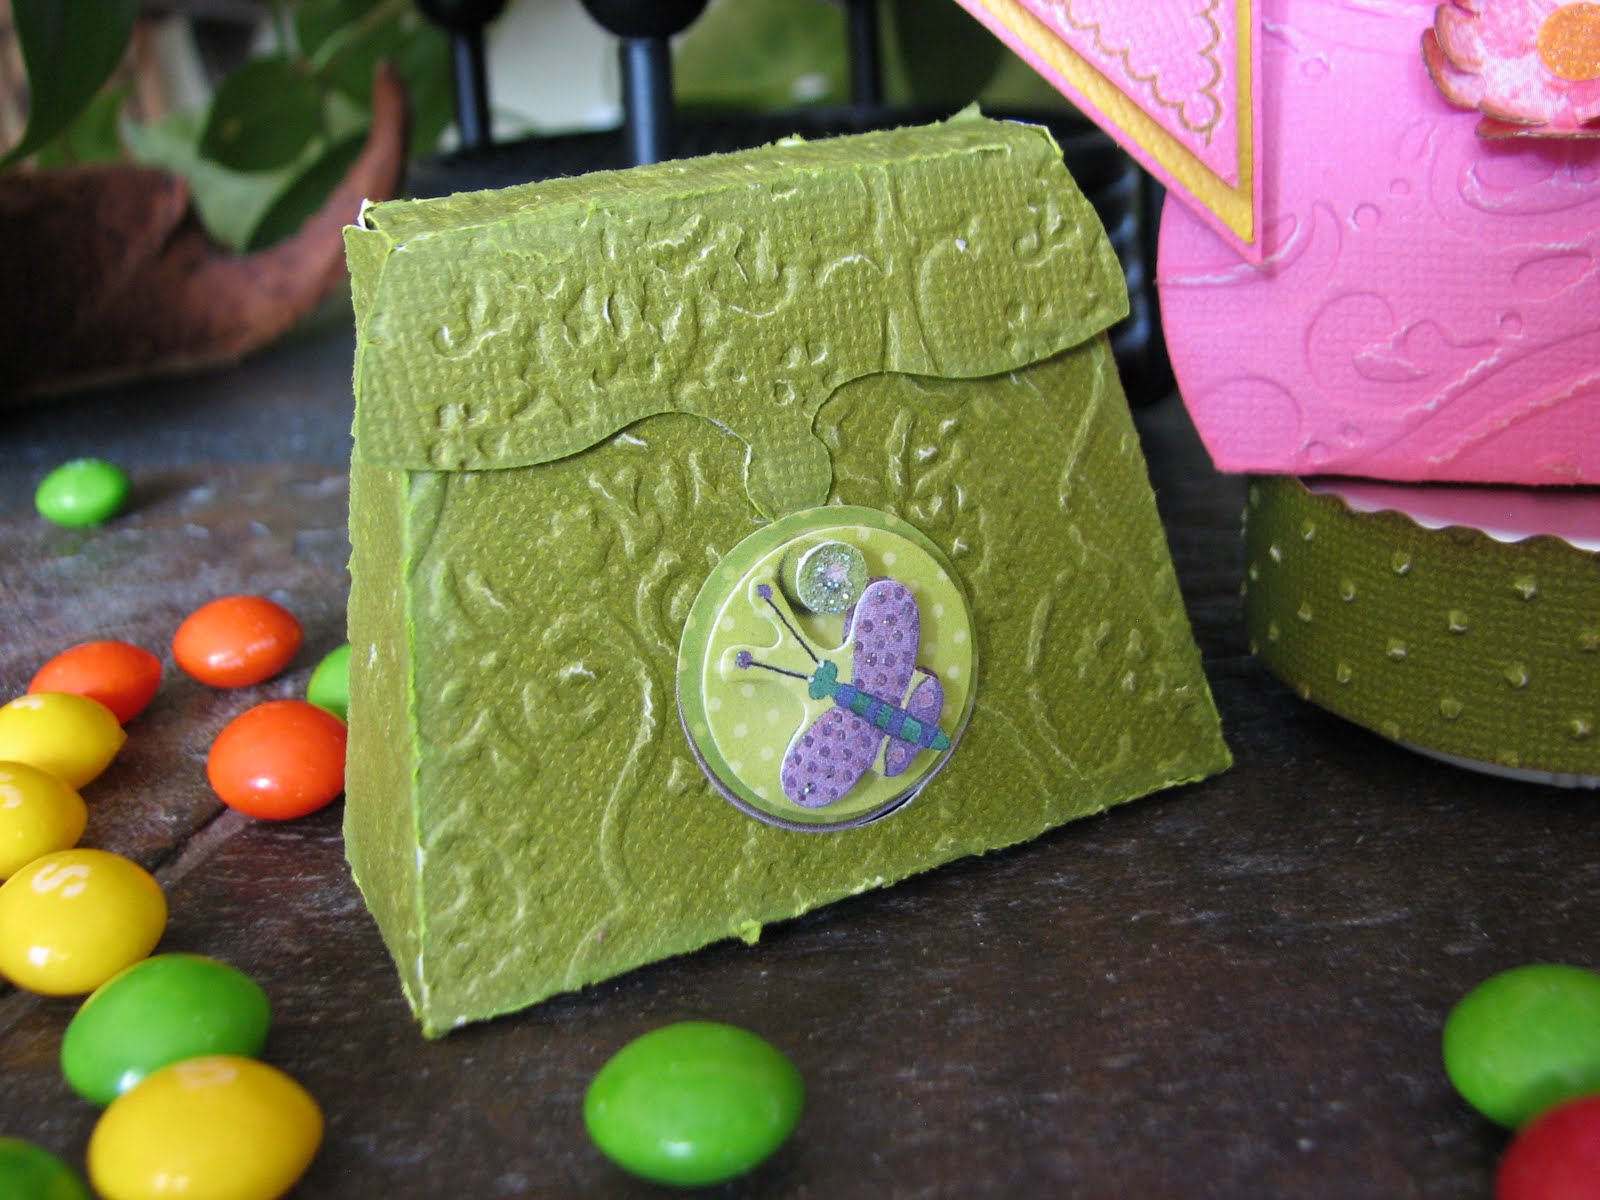
all purses are from the "forever young" cartridge using the purse creative feature, and all were cut at three inches but they do differ in size.
this green purse is image#2.


this one is image#4


this one is image# 1

i did use the hide contour feature to hide the openings they have on the front.


here is another view.

we are 20 designers and robyn, my pink stamper,  has all of our projects posted on her blog since this is our monthly design team project. please click here to go to robyn's site and enjoy the fabulous projects my team mates created.

i thank you for stopping by and i certainly hope you enjoyed my project.

------------

    love you all!
*_*


Wednesday, March 23, 2011

PUSH THE BUTTONS WITH THE CUTTLEBUG SPOT WEEKLY CHALLENGE

yes, i am super late with my project for TheCuttlebug Spot. so late i told nilda she did not have to add it if she did not want to. 
the weekly challenge is to use buttons on your project.
i made a big tag.

Enjoy
5.5" tall
(i need to trim that upper left corner a bit--it is bugging me).
anyway, this tag started being a card, of course, lol. but by the time i finished it did not look like a card but a tag. so, i cut the other half and made it into what i guess it was supposed to be...a tag.
the base is from "just because cards", image#34 
using shift and adjusting the width with the gypsy to a 3.25.

i cut that shape three different sizes as you can see to add the layers to the tag.. the embossing was done with a sizzix folder called "snowballs" using my cuttlebug. i also used the "divine swirls" cuttlebug folder for the clouds from "paper dolls for everyday", image#15 using the accesories3 creative feature. the butterfly it is from the same cart-- image#3 using shift and accesories3.

here is the so very cute snail and the HUGE BUTTON from my vintage buttons box. the snail is from "creative a critter", image#44 flipped to the right. 
as you can see i finally got me some more hemp. i love using that stuff. now i have to get some ms twine.
i tried using the zip dry glue to adhere the button but it did not work at all so i used my trusty glue gun.

the stamp is from a my pink stampers set called "everyday life" you can see more of the sentiments and of her stamps if you click HERE.

well, i hope you join us at the cuttlebug spot weekly challenge and get those nice buttons out and play along. or just stop to see what my very creative team mates worked their butt-ons up to, hehe.

love you all!

Tuesday, March 15, 2011

ALL TIED UP-THE CUTTLEBUG SPOT WEEKLY CHALLENGE

 hello there...hope you all are doing wonderful.
we started receiving school acceptances from my son and i can't wait to see where he decides to go. so far we have received 2 out of 6. one of them already told about how much aid he will be getting. i do not want to jinx anything so i will wait to tell until we have a final decision.
BUT, i do have to add my son was awarded with the "Student of the Year" and he got another award for "Altruism". remember he was awarded with the student of the month and we went for a dinner on his honor? we have another dinner to go, i just do not have the date yet. :)
anyhow, Congrats to my son who well deserves it. he works very hard at what he does. he puts his life and soul into it everything he does. we are so very happy and proud of him. 
let's wish him well on all his endevours.
thanks-!!

well, today is tuesday, march 15 and our term with the cuttlebug spot is coming to an end at the end of the month. But in the meantime, let's continue enjoying the process.
this week we have:
twine or string... any kind like cotton or hemp to work with.
i did not have any twine or hemp avail so i used some bits of raffia i had left over and tried to incorporate it onto my design. talking about my design...my design was a scraplift this time. i saw it at paper crafts magazine and decided to use it. 
below is the photo of my inspiration
and i wish i did a better job, but i guess i was still in a rut even when inspired by a beautiful card like this one.

Happy Easter 
4.25" tall by 3.25" wide
i used "a child's year" for the card base: image#19 (using the hide contour for the star).
the card base is a teal color from bazzill and the patterned papers are from making memories vintage findings collection--bought at michael's for $1.39 (48/8x8 sheets) excellent buy. that was a while-while ago :(

you can see the raffia here. it is supposed to represent an egg nest.:( the eggs are from the same cart (acy) image#6 using shift and the icon feature. they were cut at one inch. the spots you see on them were done with a versamark watermark ink using one of my pink stamper stamps first releases called 
"simply sweet occasions". the eggs were also embossed using my the cuttlebug "swiss dots" embossing folder. the "happy easter" greeting is also from my pink stamper . this one is from the "happiest moments" collection.
the golden dots were made using a dimensional fabric paint in a light bronze color.

and this is the inside of the card. 

i do not know if you have been playing along with us at the cuttlebug spot but if you haven't...stretch yourself out and join us in the weekly challenge.:P
we will have two more challenges and we will be done at the end of march, and most of the time nilda has some kind of giveaway for a lucky participant. 

click here to see what my other team mates have made for this challenge, get inspired and have some fun with us. good luck on your entry.

remember this is for fun...

love you all--!!
*-*

Tuesday, March 8, 2011

GET CHARMED


this week we have to use charms on our projects.
 and of course, my project is a card--wink.


Birdhouse
7" tall x 4-3/8" wide
i couldn't capture the colors very well on some photos :(
i used cindy loo for the birdhouse: image# 40 and i used all its layers. the size is 4.75 inch tall.

 it is hard to see but there is a butterfly charm by the spanish moss.

i paper pierced around the birdhouse and stickles was added to the heart and to the yellow ornament below.

the birds were punched from a fiskars punch--- three times on different papers--- and layered with adhesive foam for dimension.

the "grass" was done with another fiskars punch and embossed with a new tim holtz sizzix embossing folder called "cracked" using my cuttlebug.

the pretty patterned paper is from k&co. i also used kraft cardstock for the card base and american crafts on the solid colors.

come and play with us this week and  
"get charmed" 
at the cuttlebug spot. have some fun with us. it is nice to participate in challenges plus you never know if you will win some candy. ;)

--------
remember, this friday we will have our monthly 
and i have some candy for a lucky participant.
--------

love you all 

*-*

Tuesday, March 1, 2011

HAT PINS GALORE WITH THE CUTTLEBUG SPOT WEEKLY CHALLENGE

 hello my friends,
between the gym and household chores is a miracle i still alive, lol
 today is a sunny day here in my neighborhood and that should recharge my batteries for a bit.

i am also taking my son to an oral surgeon for a consultation/scheduling on his wisdom wisdom teeth surgery. the bottom ones are sideways and of course they need to be removed. i never had my wisdom teeth so maybe that is why i still a goof--hehe

Ouch! :  Hat pins
this is my take,
Always Laugh
4.25h by 5.5w 
this flower is huge...flowerdisco went crazy this time--hehe

thanks to the spender in me, i bought these hat pins at J's because they were on clearance and i said to myself we never know when we are going to need them, ;p. 
here is a pic of them:
they have different sentiments and i love the font and material used for them, don't you?

anyhow, i looked in my ribbon box and i saw this kind of wide cheap lace :( and i decided to make a flower.
it came out huge, lol, but nonetheless i was decided to use it on my card--go figure.

the fabric button is another clearance find from k&co.

and the paper lace we all know it from the martha stewart collection of punches. i also used it in the inside.

sorry about the "glub" of glue on the white square piece of cardstock. i did not realize it until now. i will take care of it with my x-acto knife later on.

you can see the flower wasn't really attached to the card--wink!!!!
my son still thinks i am a goof, especially when i come to him with these atrocious ideas, lol.
the little white square is very useful as you will see below.

you can see the embossed patterned paper, right? i had to have my embossing in. after all is for the cuttlebug spot :)
 aha!!!!!!!! yeah, you are seeing right ;p. i put another hair pin (a real one) on the back of the ribbon that was glued to the lace flower that was pinned to the white little square--hehe.

now, you can remove the flower and use it as a real hat pin, hair pin, brooch, put it anywhere you want 
....voila!!!!!
that was my genius and or atrocious idea for today. lmbo

so what do you think? hehe...flowerdisco just lost it!!!!!!!!!!

i bet you can do better with some kind of those glubbers  that are so popular right now. 
but you get the idea here first,.
right? right.

play along with us at 
and also enjoy yourself looking at what my team mates have prepare for this week of 
Ouch! Hat Pins
love you all!
*_*